How I prepare myself before beginning my OOAK baby.

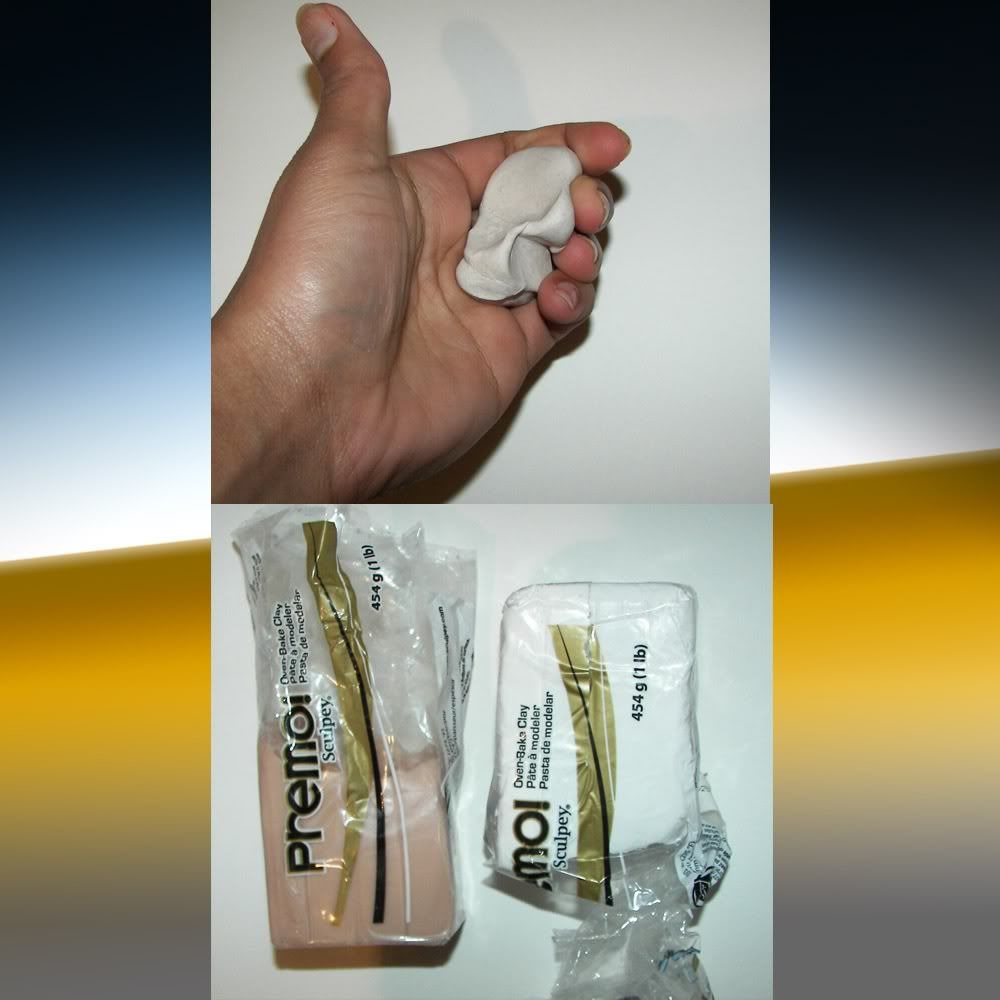
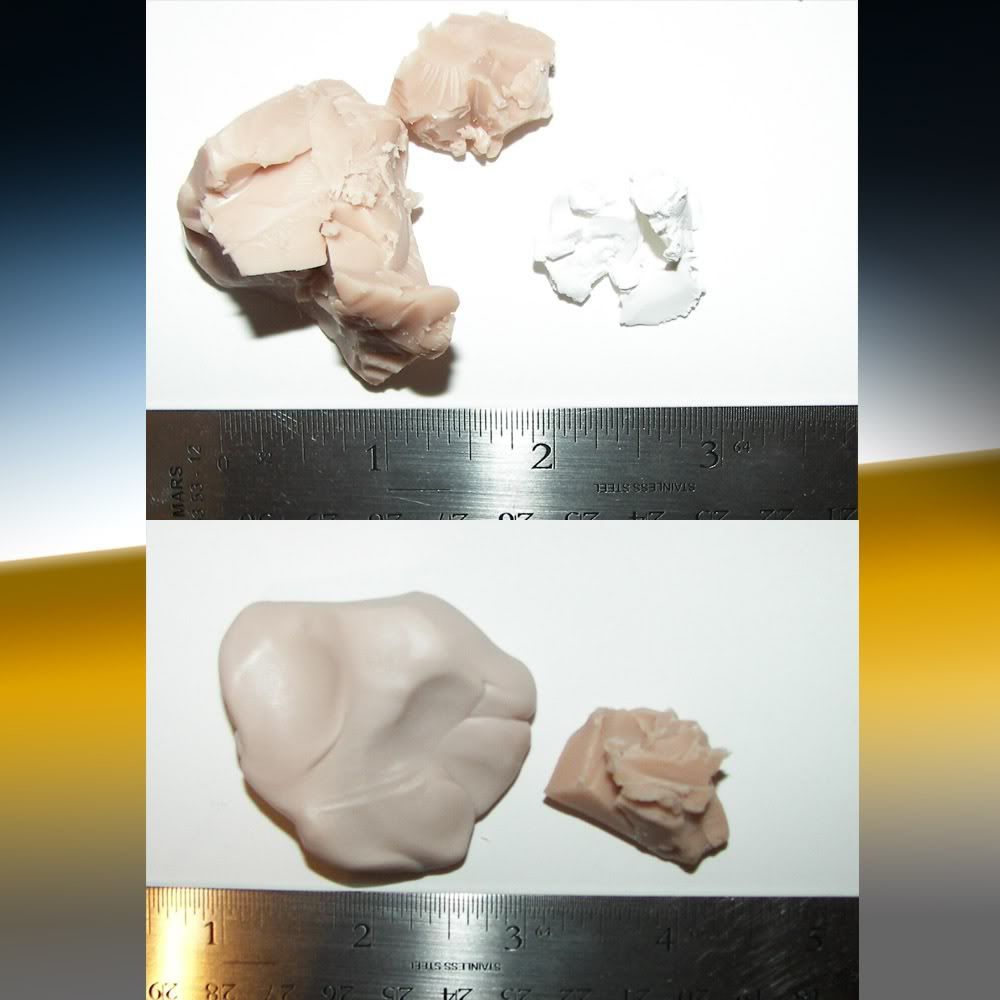
I Love to use and re-use, use an old peace of clay to clean lint off your hands. BUT first clean you hands, I love to use dish-wash soap like Dawn (the one I use.), Above also you will see Beige polymer clay and white. That's because I love to blend those two, for some reason the white is softer than the beige colored one. Blending them will create a softer option to work with.
===============================================

===============================================

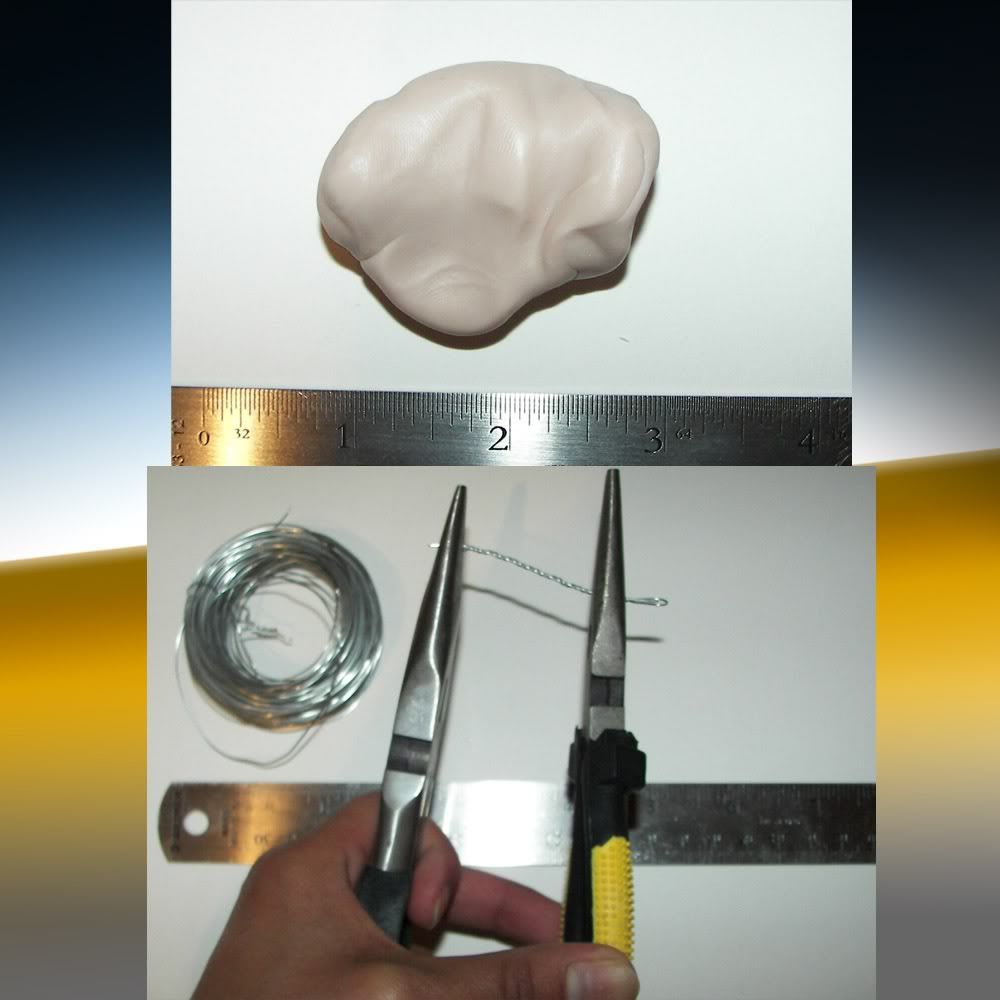
After I am satisfied with my color choice for the skin, I take my pliers and craft wire and make a straight armature for the baby's head and body.
_______________________________

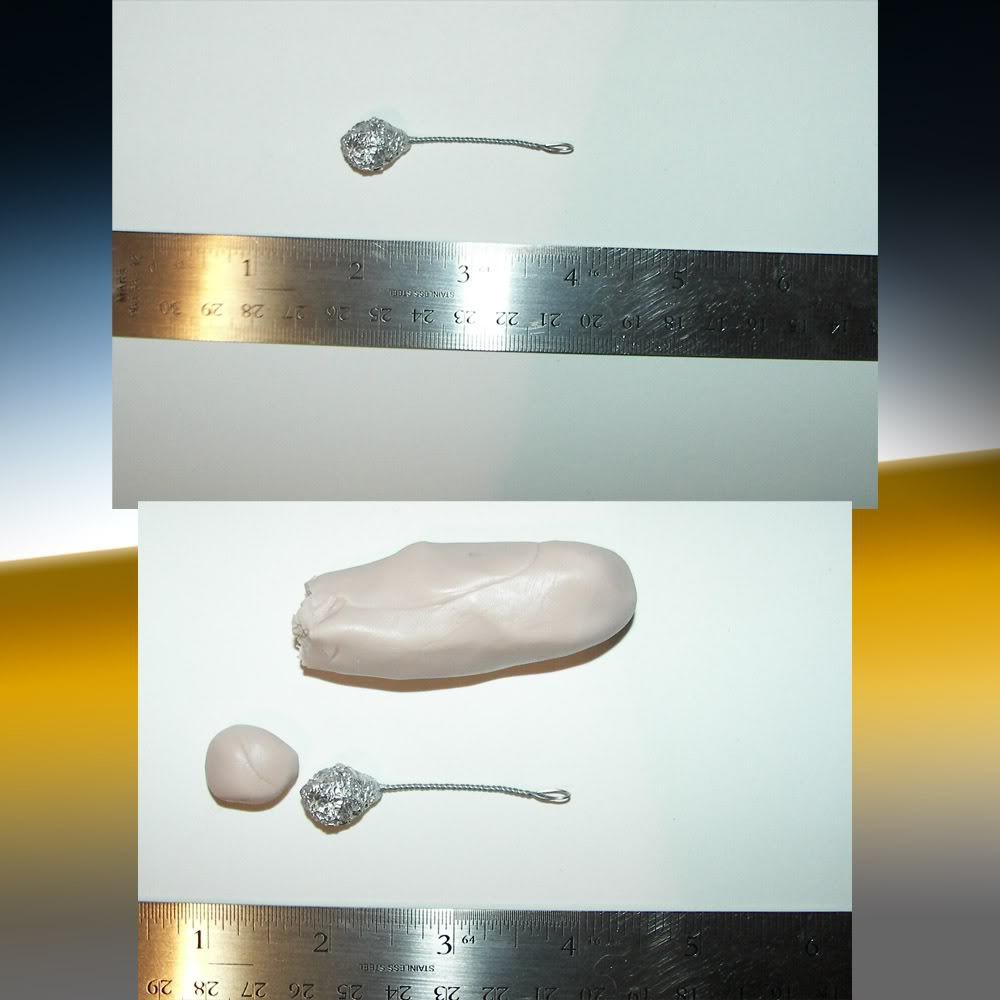
Add Aluminum paper to the top of your single armature. Take a piece of your clay and make sure when you take that piece of clay for the head, that you leave enough clay for the body.
__ NEXT POST How TO MAKE THE HEAD-EYES-Nose-Mouth