Tuesday, June 28, 2011

Sculpting Baby hands

Making a polymer clay baby hand
The making of a polymer clay baby hand.


This video was introduced in youtube by mcastro1970

Sunday, June 26, 2011

New Update On baby making


This youtube video was done by one of my favorite artist Chaimarie, wonderful tutorial


Chaimarie Finished Baby fairy.

Saturday, June 25, 2011

Armature!! what is it?

           Explaining and armature more in depth.

       Wikipedia  has a really good definition of the word, basically saying that an armature is the skeletal structure of a sculpture. Provides stability when dealing with soft materials such as wax or clay. Which to my knowledge sounds to be true.

Photobucket

Photobucket

         I use them along with my sculptures because it is a useful way to sculpt, making it easier for the sculpture to stay intact when you  are sculpting.

        By adding it to the baby stomach like I always do, it saves me on polymer clay and for some reason it helps when you are curing it as well.


By adding the armature it creates stability when I am still working on the sculpture and by adding some aluminum paper saves on the sculpture material. In this case is (polymer clay)

Different brands of polymer clay

This is a link explaining the different types of polymer clay.

There are several different brands of polymer clay: each with a link to websites. To help you on your research for your projects.

Sculpey III

Premo! Sculpey

premo! is my choice polymer clay to create small babies.

Fimo classic

Fimo Soft

Cernit 

Kato

Ultralight

Studio by Sculpey 

Craft Smart

Pardo

Thursday, June 16, 2011

Sites that I have found to be great for tutorials


This tutorial is for those who wish to make eyes for their babies, and wish to create their own color eyeball. They have a beginner section and an advanced section.

fairies tutorial

Begin sculpting a fairy baby with armature completely attached

OOAK Fantasy Dolls

has a great variety of amazingly life like fantasy doll.

My crafts Page

Different little projects for polymer clay aficionados.


Making a chimp tutorial

In this tutorial you learn how to make a polymer clay chimp


Click here for a great website for doll clothes

Polymer clay BABY Fairy-Elf Angel Progressive pictures

Baby "Angel"


This is a progressive picture of a polymer clay baby/fairy. I named him Angel and sold him on eBay for bids.

Tuesday, June 14, 2011

TIPS when baking your baby

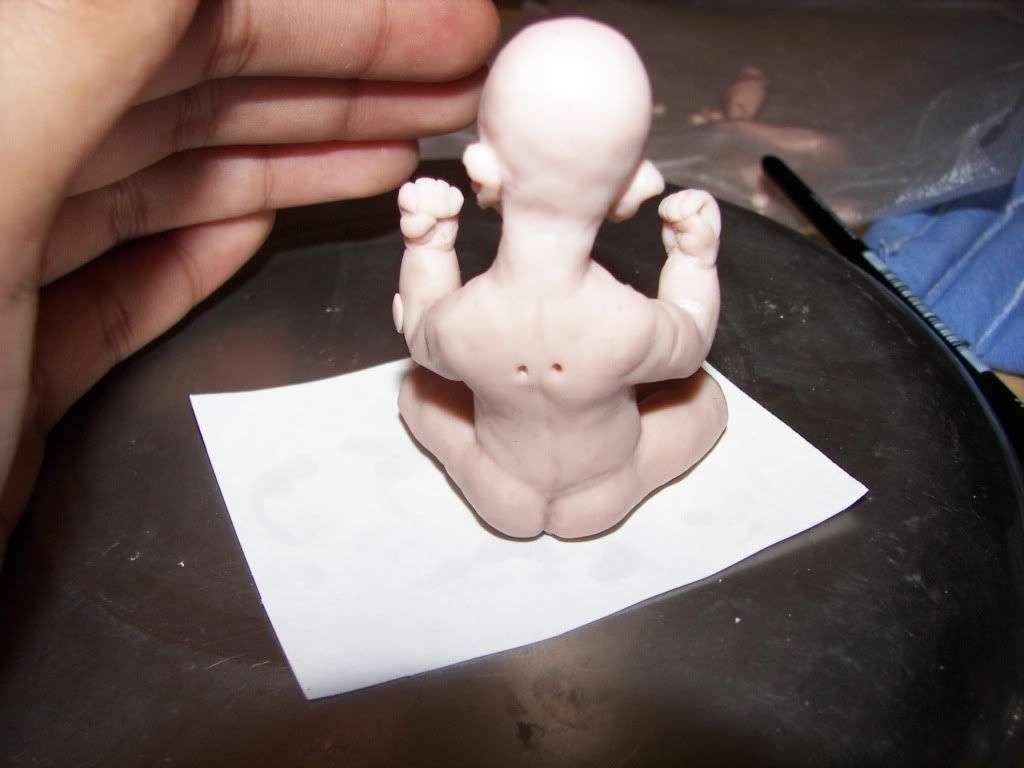
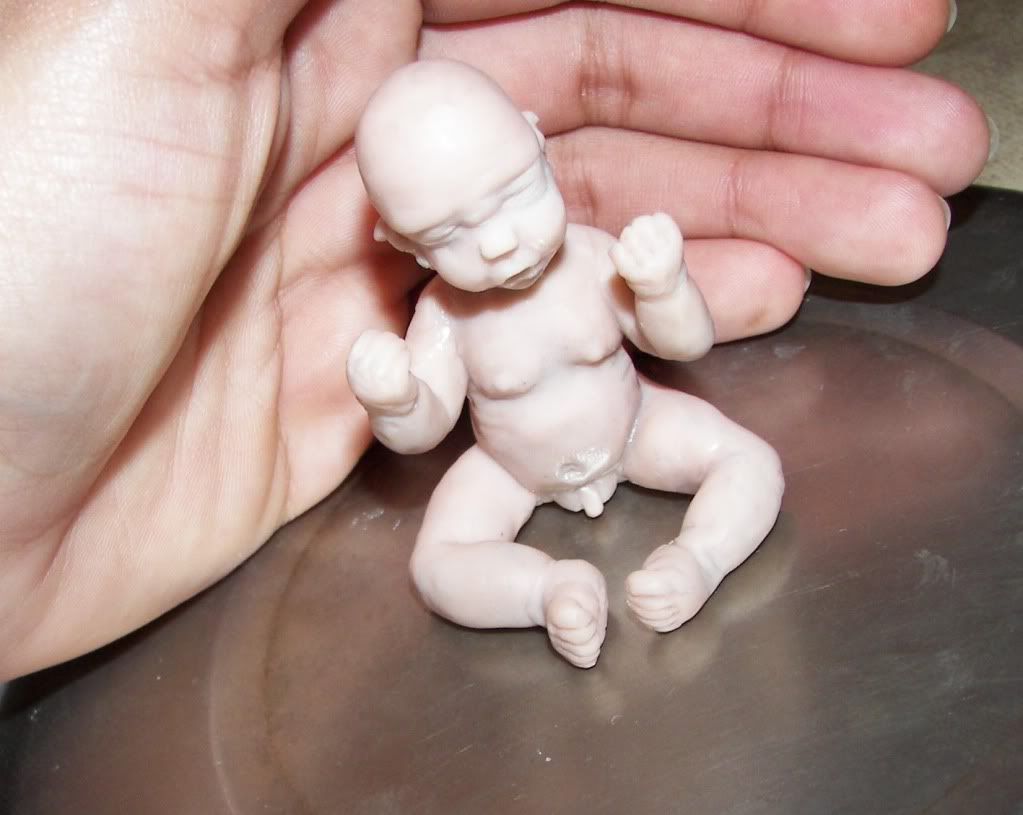
At first when I am almost ready to bake my baby I make sure I pop it in the oven for just about a minute or two and let it cool( NOTE MY BABIES ARE REALLY SMALL 2.5" TOPS). By doing this I have a chance to see if there are any moonies I can fix them before I cure the sculpture completely. I am aware that this process is delicate, be aware that you have to be really careful with the sculpture. With mineral spirits Or paint thinner however you want to call it. I brush my sculpture with it. Notice that the sculpture is a little cured but not to its maximum giving the mineral spirit a chance to dissolve and smooth out the sculpture, by using a soft brush.
I cannot stress enough PLEASE be careful. When using this process.
If you have any questions please leave me a comment and I will get back to you


Before baking
--------------------

Photobucket


After little baking time
----------------------


Photobucket


During repairs
---------------------------------


Photobucket

after repairs
-------------


Photobucket

fully baked with paint
--------

Photobucket


Photobucket

Monday, June 13, 2011

Polymer clay history

Polymer clay history 


Some facts about our well used polymer clay medium

Polymer clay has been around. Since the 1930s 
It was first brought by a German family from... You got it Germany in the 1970s
Polymer clay was born or invented when a doll maker Fifi Rehbinder was having a little bit of trouble finding her usual supplies to make her dolls, Invented Plastic Clay named it "Fifi Mosaik.

Despite that we call polymerclay "clay", it is not really clay.  you can find more info about this in :
Polymer clay WIKI

LETS GIVE THANKS TO FIFI FOR HELPING US MAKE OUR SCULPTING OPTIONS BETTER. 
Now we have different variety of brands, which serves for different purposes.

Saturday, June 11, 2011

What Brand of colors to use and how I paint my babies and using the color wheel

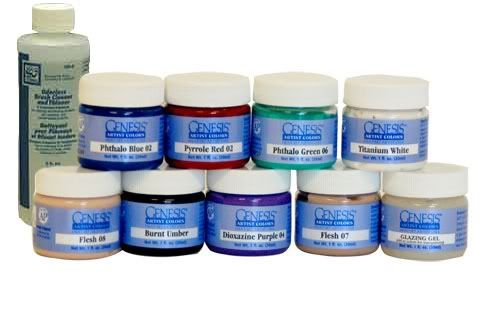
OK SOoo! I use genesis heat paint for Painting my Babies. 

Why, Because if I make a mistake I can easily wipe it out, and I do not have to paint in a rush. Seriously this has been a good invention for us artist, because it only dries if you apply enough heat to it making the artist control his/her own work.

Photobucket

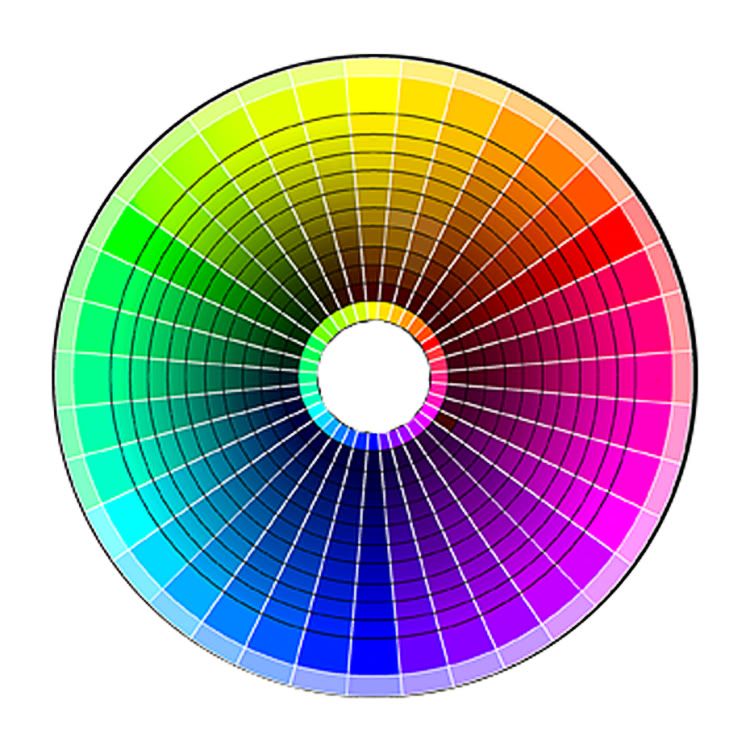
Something you should really consider using is a color wheel


Photobucket
This wheel helps me with everything from my choice of colors for clothing to my eyeshadow, to my house colors and for my little babies. If you are not familiarized with doll reborning, this wheel is very useful. A slight blue coating is used for reborning dolls (for beginning), but why is that you might ask. Well my friend this is, because your doll will have a peachy color and what is on the other side of peachy color, yup you guess it your blues.This will naturalize your colors. In this case peach and blue giving your baby a more natural look. 


That's where I got the idea for using this wheel on polymer clay babies too.

Monday, June 6, 2011

OOAK baby fairy wing

This will give you an idea of how to make your own baby wings for an OOAK polymer clay fairy Baby.


You can use any kind of transparent paper, but I like the Angelina fantasy film. 
Any comments or request please feel free to leave them.


1.   make sure you have all the basics before you start making Your wings: Glue, pliers, craft wire, super glue also known as crazy glue (you can also use tacky glue), paint (acrylic or nail polish works as well), scissors (REMEMBER not to run with them :-D), a basic drawing of the wings, Soldering Iron (Makes wonderful details because it gets really hot)

2.   I am using the fantasy film called mother of pearl (reminds me of the sponge-bob square pants show when Mr.crabs says "mother of pearl"). 

3.   You want to make sure that you cut the outer skeleton of the wing, with almost the exact size of the wings as shown in picture 3 (make sure you leave some room to twist the wire with the pliers as shown in pic 4). When this is done remember that is not only one wing you are doing but two, therefore you have to do the same for the other.

4.   In pictures 7 and 8, I am showing the inner outer part of the skeleton. Remember to cut for two wings. Pic 11

5.   You are going to cut the Fantasy film in a rectangle, enough that when you put the outer skeleton will fit completely. As shown in pic 15.

6.   You are going to super glue the edges of the wing starting at the midpoint of the wing as shown in pic 16 and ending on the edges. Same goes for the inner part of the wing shown in pic 17-18. Remember that you have to do the same for the other wing, but you are going to do this in a mirror like position

7.   To dry the super glue faster I use a blow-dryer. After this is done just cut the excess paper on your wings.

8.   The Soldering Iron is going to get really hot, and I mean burn right away hot (BE CAUTIOUS) after its hot carefully burn the edges of the wings to give it a more natural look you can also do holes with this (Usually used for adult wings)

9.   After this is done use your choice paint and paint your wings and decorate them as you want. I used one of my hair Picture 29 for small details.
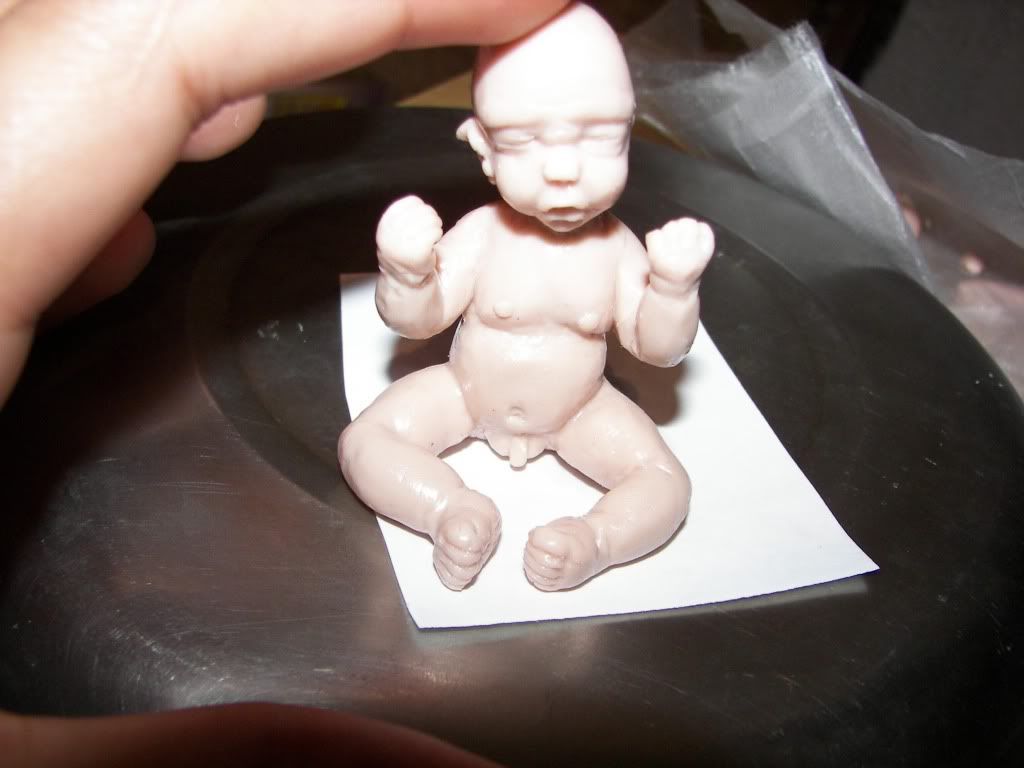
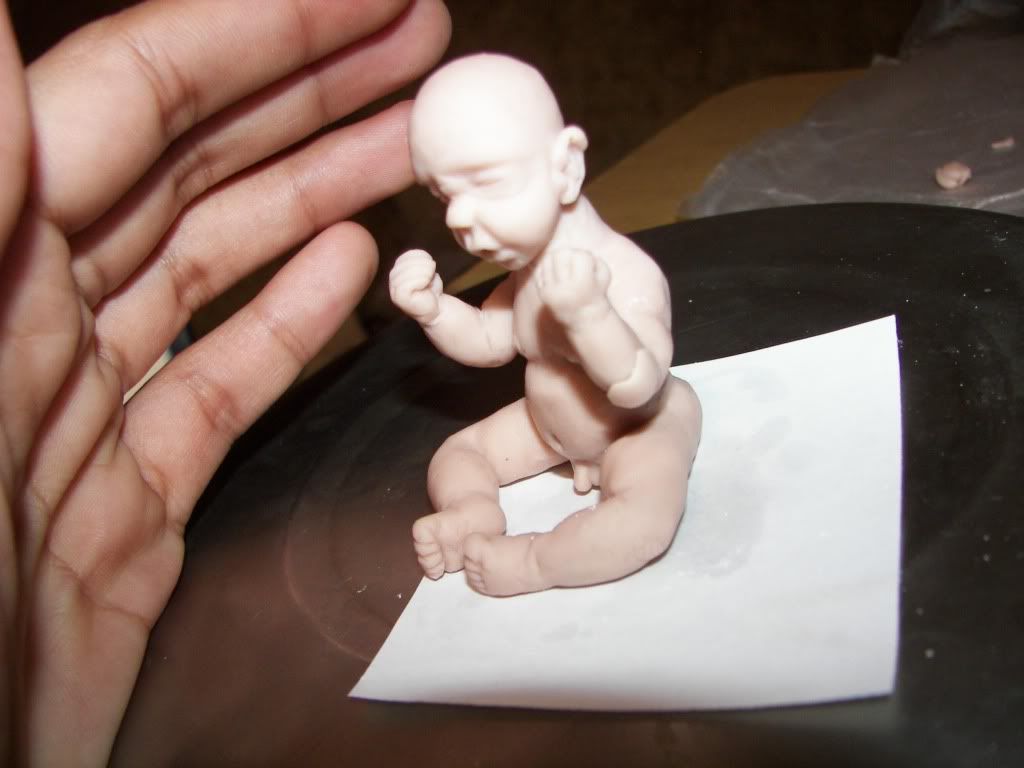
ooak baby head sculpting

analytics